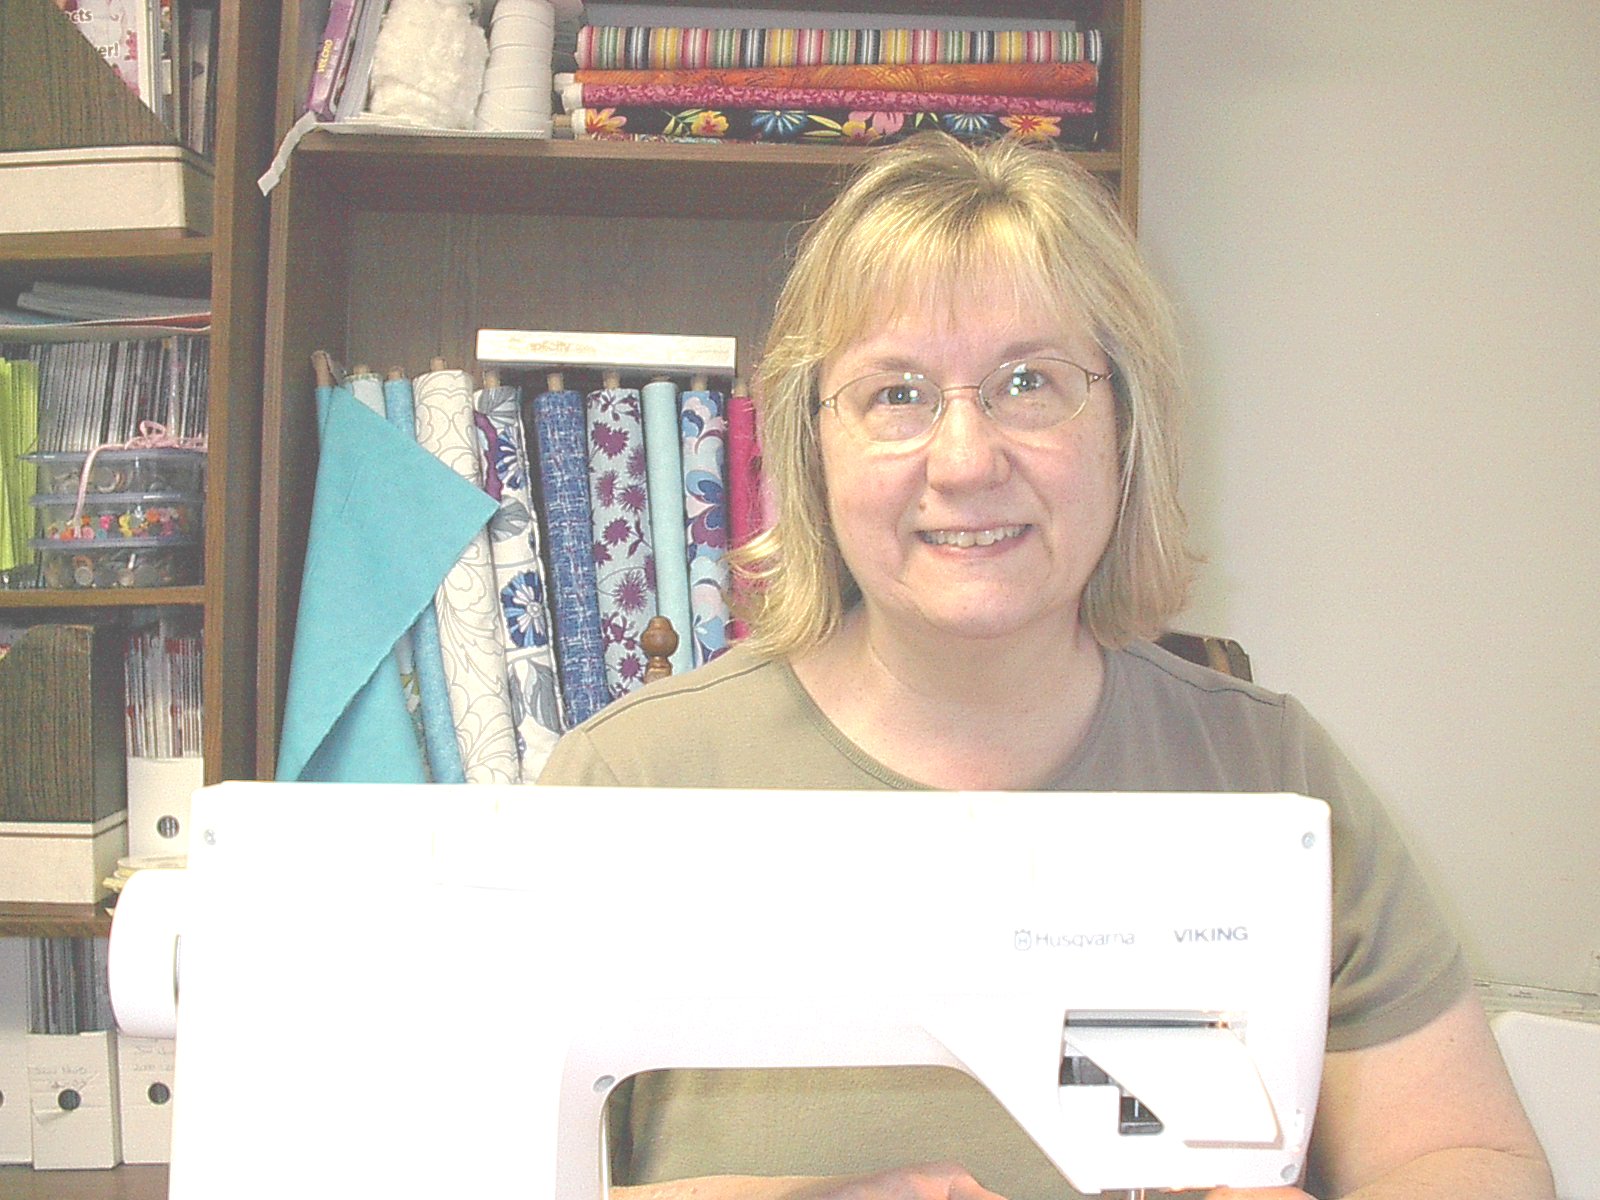
February 25, 2015, 4:59 pm
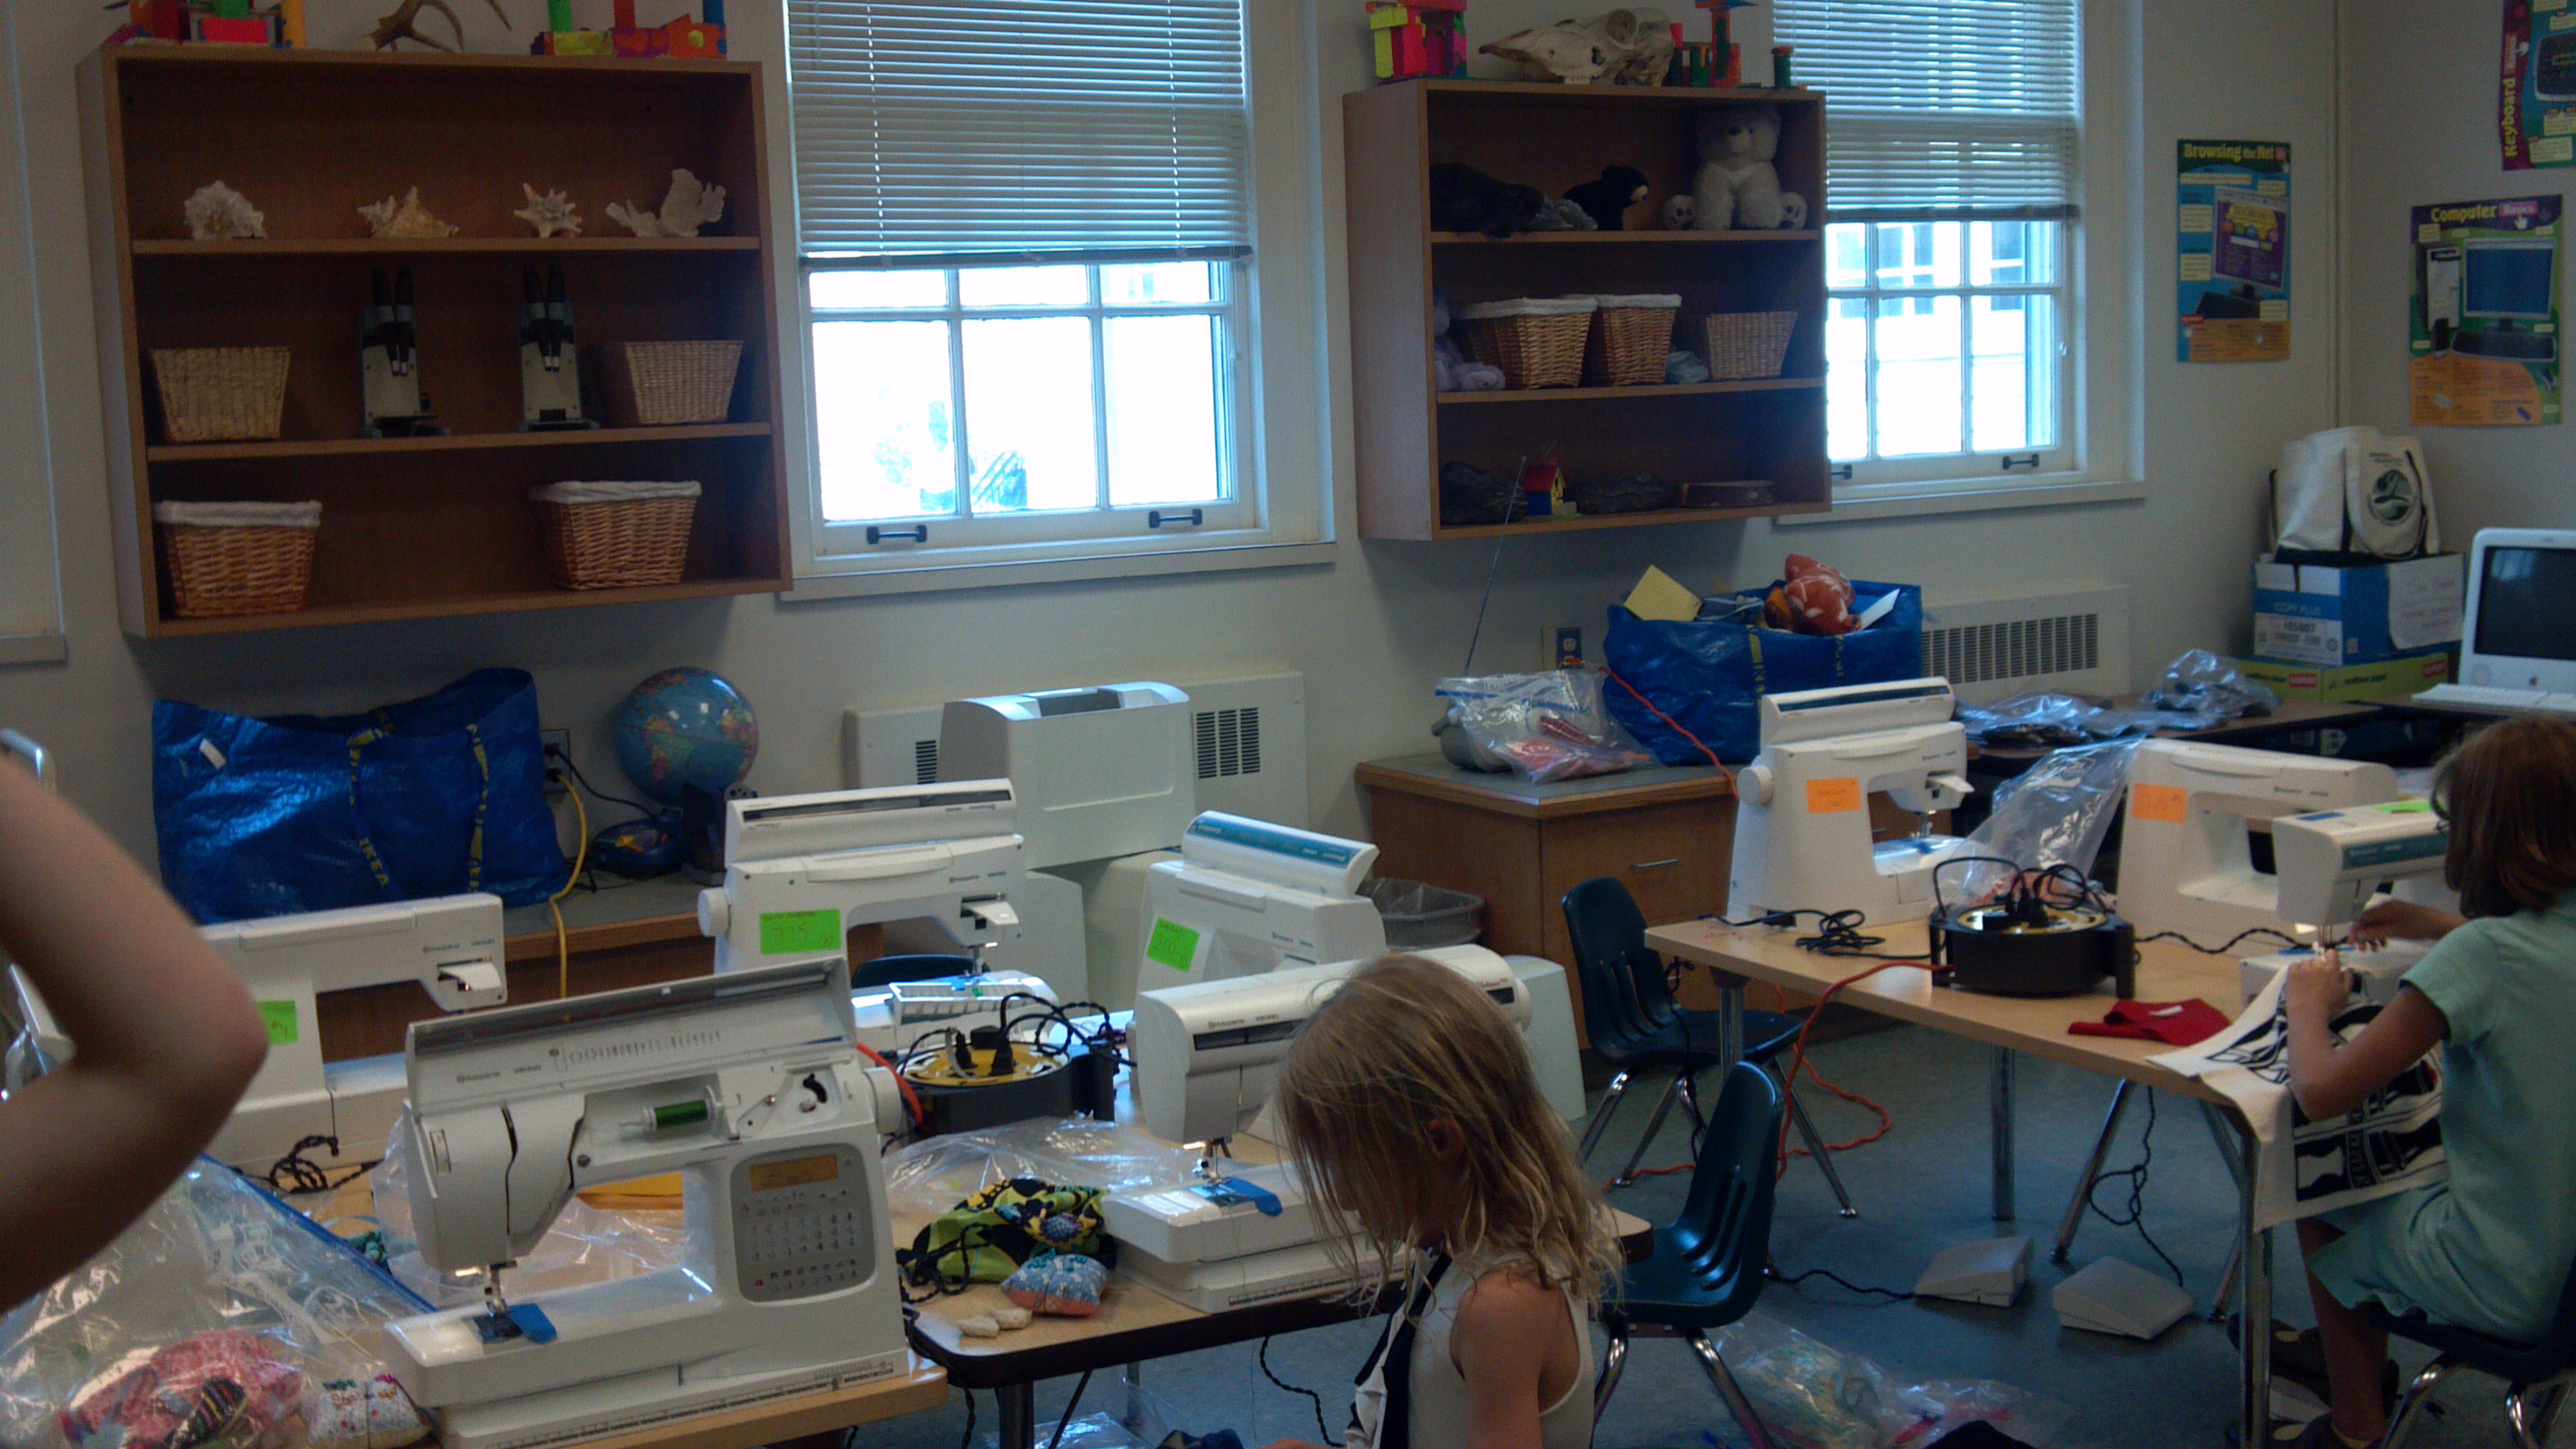
I enjoy teaching both kids and grownups how to sew. For the past 12 years I have operated a traveling sewing school making good use of my Textiles and Clothing degree. I think of myself as a Home Economist but the new buzz word for this honor is a Consumer Science Professional. I usually travel with 10 sewing machines, 2 irons and ironing boards, several wheels with outlets, and all the sewing tools, equipment, and kits that we will need to complete the projects that we will stitch during class. I also have a 70 pound hand truck that helps to carry in the machines to the schools.
Once at my destination I have to transport all the tools and equipment to my hand truck, get to my classroom destination, set the machines up and get ready for the kids. I teach the lesson for 90 minutes and at the end of class I ask the kids help me clean up the room. After they leave I take down all the machines and pack up all my equipment, back on the hand truck they go to be packed in the van again to travel to our next destination. And often I do this dance 5 days a week!
When I’m not teaching, I spend my time between working on my website (www.fascinationinfabrics.com), learning the value of incorporating SEO sites like Facebook, Pinterest, and Twitter into my marketing mix, and researching or designing projects for my classes. I usually try to plan my projects well in advance of the projected class dates that my students will stitch them. After I know what we will be sewing I either order the supplies or shop for them locally. After the supplies arrive I summon the help of a wonderful friend and colleague and we spend hours cutting and prepping kits that will have everything ready for my kids to sew. Finally I stitch the samples. Honestly, until we start lessons on using a commercial pattern, my kids don’t understand or appreciate how much I do for them so that the class can run smoothly! It’s a process….
The projects that we stitch are geared to 2 different age groups. My first group is my 5 and 6 year olds. These stitchers spend time learning mostly hand sewing techniques in the beginning along with cutting and pinning skills. They spend time learning how to thread a needle, knot the end, and practicing a running stitch, overcast stitch, and a French knot. Several weeks into the session I start to add short lessons on the sewing machine and their journey begins on learning to use the sewing machine.
My second through sixth graders also start with hand stitching. However, these sewers navigate the sewing machine much quicker than the little ones. Sewing machine basics and safety start from the first class as does beginning techniques to master with fun projects to stitch.
The basics of hand or machine sewing start each sewer on their journey into the sewing world. After that their path is determined by their likes and preferences. Like any other skill there are many kinds of sewing that one can enjoy. Many of my young sewers enjoy stuffed animals, quilting, clothing construction, or making bags and totes. The possibilities are endless.
The hardest part of teaching sewing is to remind each student that sewing is a learned skill. It is not a competition with anyone else. It is individual journey. For each project in sewing that you stitch your goal is to understand the techniques used to complete the project. Whether it takes one class session or five class sessions, the mindset should be one of understanding the process and not who is finished before you! The main goal of all my classes are centered around learning to sew and loving it! Sewing is a creative art form meant to enjoyed in a stress free environment. The joys of sewing last a lifetime for my young sewers and each student will have a different journey based on personality and their individual tastes. My continuing goal is that each of my students will have a positive and very rewarding experience learning to sew. And, I am so honored to teach all my students the joys of sewing and will continue to do so for a long time! It is after all my passion and my life!
September 29, 2014, 6:26 pm
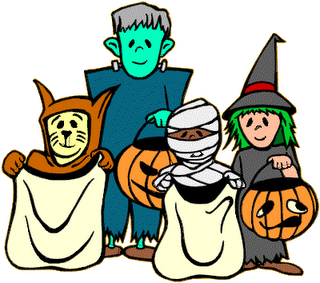
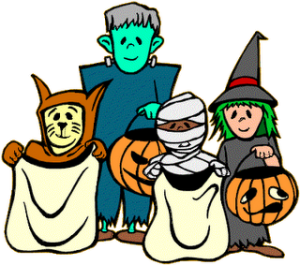
Whether you have sewn for your entire life or are just starting out as a new sewer, Halloween is the perfect time to unleash your creativity and make your own Halloween costume. It doesn’t have to be perfect because it’s a costume. It’s a project to try new techniques and/or perfect old ones. And better yet there is no right or wrong way of doing things! Create and enjoy the ride!
I tell my students to browse in the retail Halloween stores and look in books, magazines, and the internet to get an idea of what they would like to be. Make sure you pay attention to the details that you would like to incorporate into your costume. When you have decided on a costume to make you can approach making your Halloween costume in several ways.
The first approach is to check the pattern catalogs in your local fabric store to see if there is a pattern for your costume that you’ve chosen to make for Halloween. If you are a new sewer just make sure that the pattern isn’t too complicated. I like to tell my new sewers to purchase a pattern with no more than 10-12 pieces unless you’ve consulted your sewing teacher or other experienced sewer. Look at the fabric, trims, and notions on the back of the pattern envelope for the costume pieces that you are making from the pattern and purchase these items. Prepare the fabric, find the pattern pieces needed for your view, cut it out and have some fun sewing up your costume. Make sure that you ask for help if needed. Embellish your costume to make it your own. Remember, you are the designer and it’s what you like that really counts!
Now, if you have this great idea in your head but can’t find a pattern then you have to go a different route. Think of the designers on shows like Project Runway and the steps that they must follow to get from a drawing or an idea in their mind to the final project. Break the design down and see what you will have to do to get the look that you want. Look for patterns that have the shapes that you have in mind and substitute these patterns to make your costume. Or, if you have a Goodwill store or a Salvation Army store near you, they are usually treasure troves of great pieces that can be adapted to make any costume. Alter and embellish them and your costume will be smashing!
To summarize, decide on what you want to be for Halloween, decide on how you want to go about it, and get going sewing. And remember, the best thing about making your own costume is when someone complements you on your costume you’ll be able to smile and say “Thank you, I made it myself!”
September 19, 2014, 2:00 pm
 National Sewing Month
September is National Sewing Month everyone! That means it’s time to go searching in attics, basements, and closets for those awesome sewing machines that will help you take your creativity to the next level! Take the sewing machines out of the boxes or take the gently used machines to the sewing machine store to get cleaned and checked. After that task has been accomplished you need to find a sewing teacher or class in your area and take a beginning sewing class. These classes will teach you how to operate your sewing machine as well as basic sewing techniques to get you started. Most beginning sewing classes will get you started making a pillow or even a pair of pajama bottoms. It’s ok if it doesn’t turn out perfect because it’s your first project! Just enjoy the class and the skills you are learning. Relax and have fun! Sewing is a great destressor!
If you’re already a sewer, September is your month to shine! Try a new kind of sewing, sew some community service projects, or sew for a special little one in your life. Finish all those unfinished projects that you’re hiding in closets and under beds (I speak from experience). Or just choose a project for yourself and sew it!
September is also a good month to join your sewing friends in a sewing organization. The American Sewing Guild has a great publication called “Notions” and has many chapters all across the country. Quilting Guilds also have chapters all over the globe and their meetings are full of learning, sewing, and just plain sewing bee style chatter. If needlearts are your would be passion look for a chapter of the Smocking Arts Guild of America.The nice part of many of these organizations is that if there is not a chapter in your area you can be a member-at-large. And as a member-at-large you will receive all the publications, be able to attend any seminars or conventions that the organization might have, and even start a chapter in your area! How cool is that?
Sewing is a wonderful pastime and a lifelong learning skill. The joys of sewing allow an individual the freedom to express their personalities in the projects that they stitch. The need to be creative and express ourselves can come in many forms. Sewing is my form of personal expression and I hope it soon will be yours!
August 19, 2014, 4:40 pm
As I plan my projects for the coming year, I am also thinking about the tools and equipment I will need to make these great projects. After our initial discussion of how to use the sewing machine, I always spend a fair amount of time on identifying the tools and equipment my sewers will be using in our classes.
Besides a good working sewing machine and an iron and ironing board a beginning sewer will need certain tools and equipment to help them sew their projects. Sewing tools and equipment are also called sewing notions. You will find most of the items listed in the notion section of the sewing store. The sewing tools listed below are not the only tools that should be in your sewing stash but they are the basic ones, in my opinion, to get you started on your sewing journey. More tools will be introduced to you as you gain confidence in your sewing ability and move into trying new sewing skills which require new notions and tools to complete them.
So, let me tell you what’s in our beginner sewing tool bag:
Scissors
Good scissors are essential to any sewer for accuracy in cutting anything from threads to fabric. I prefer Gingher scissors but they are fairly expensive for my kids to purchase so I recommend Fiskars because of the ease of finding them in most sewing stores. Do not cut paper with any of the scissors or shears that cut fabric! Paper scissors are a must! For your tool kit you will need:
- small pair of scissors with approximately 5″ blades, preferably with rounded points, for snipping threads and clipping curves
- Paper scissors for cutting paper patterns
- 8″ Shears, for cutting out patterns
Pins
For myself or for my adult sewers, I recommend glasshead pins because they will not melt under the heat of the iron. For the kids and in my classroom I use a Long Pearlized Pin by Dritz. The kids like the colorful heads (which will melt) and their fingers are able to manipulate the long 1 and 1/2″ bodies.
Pincushion
Pincushions are a must to keep pins off the floor and not scattered everywhere on the tables. I usually have my young sewers make a square pincushion during the first lesson because it demonstrates the beginning techniques that we will learn. However, there are the traditional tomato pincushions in the sewing stores as well as several designer pincushions introduced each year.
Hand Sewing Needles
Hand sewing needles come in a variety of sizes and lengths depending on what you are trying to stitch. I usually recommend to my new students to get a variety pack of needles until they can familiarize themselves with the uses of each needle and decide on their favorites to use and have in their stash. With my younger students I usually use a general purpose sharp needle. However, if they are having trouble threading the needle I will let them try an embroidery needle (used with embroidery floss) with a bigger eye.
Tape Measure
A tape measure is a must for measuring the body or any other object for that matter and for measuring grain lines on pattern pieces to ensure the patterns are on the fabric correctly.
6″ Omnigrid Ruler for Measuring OR a Seam Gauge
I love the omnigrid rulers for ease of measurement. The increments are clear and concise. The ruler is 1″ wide. I also have these rulers in a variety of sizes and use them constantly!
Seam Ripper
This is a very valuable tool in your box of essential tools! They come in a variety of sizes and shapes; some are even erogonomic for your comfort. For my beginner sewers I recommend the inexpensive blue seam ripper.
Fabric Markers
There are so many fabric markers on the market. Different markers help you achieve different things. For instance, if I am doing heirloom lace work, I need a water erasible blue marking pen. However, for everyday marking, this home economist likes either a chacoliner or a tailor tack for her markings.
A chacoliner has a wheel inside of its body. When the wheel is moved across the fabric it leaves a line of chalk to mark your fabric. I prefer yellow or white for best removal. The Chacoliners are by Clover and I sell them online.
My most favorite type of marking for fabrics are tailor tacks.one with a double thread that is not knotted, several stitches are made, the loops are cut, and then the 2 pieces of fabric are slightly lifted apart and the threads cut. Sounds more difficult than it is to do but there are no markings left once the thread is pulled from the pattern piece. Try it!
Safety Pins
Safety pins are great to have to help thread elastic and ribbons through casings. I also like to use them to temporarily hold elastics in their place while fitting a garment. I usually have a box of safety pins in my stash for my sewers to use.
Thimble
Thimbles are great if you are hand sewing and don’t want to get your fingers pricked by the motion of the needle. I use a leather thimble because it feels less cumbersome. If you purchase a metal thimble, be sure to get one that fits the size of the finger you will be protecting.
Sewing Basket, Drawstring Bag, or Plastic Box
Most of my sewers love choosing a sewing basket for their sewing tools. Bright and colorful, the baskets usually are in the notions section of most sewing stores but become plentiful around Christmas.
In the schools I either carry the tools for the kids in my bag or have them make a drawstring bag and put their name on it for easy identification. A plastic box is also suitable storage space for the sewing tools and notions that they will use during class.
These are the tools that I require my beginner sewers to purchase for their use.
Tags: chacoliner, hand sewing needles, omnigrid ruler, Pin Cushion, pins, scissors, seam gauge, sewing equipment, sewing notions, tape measure, thimble Category: Beginning Sewing Projects, Sewing Tools |
Comment
May 26, 2014, 10:04 pm
Many moms of my young clients ask me what kind of sewing machine to buy for their budding sewing enthusiasts. Parents want to encourage their kids to enjoy sewing but don’t want to spend too much money in case sewing is just a passing fancy. Understanding their concerns, I give them these basic tips:
1. One of the most important pieces of advice that I can give my parents is that if all possible, purchase your sewing machine from a reputable dealer. Purchasing from the dealer with any brand might be a little more expensive. However, you will also be paying for that dealer to provide you with any services that you may need over the life of your machine. And, many dealers offer a trade-up on a better mchine within the year of your purchase if your sewer should decide that he or she really likes sewing and wants more features to test their creativity
2. Machine prices start at about $100 and increase as more features are added. Once you have decided how much you can spend for your machine, then begin the process of shopping around to find the machine best suited for your sewer’s needs.
3. Machines will either be mechanical oe computerizzed. Mechanical machines have knobs and levers to turn or dial. Computerized machines usually will have a display panel and buttons to push to sew the different stitches
4. Consider the stitches your child might like to have for their sewing. Ask a sewer in your family or a sewing teacher what features they like having on their machines. The dealer will also be able to help. Some of the features that I like on my machine are:
- Needle up and needle down- great for stopping and starting while sewing. The needle remains in the fabric so the fabric doesn’t move and my line of stitching remains uninterrupted. The needle must always remain down when the presser foot is lifted so that you don’t lose your place when sewing.
- Three Step Zig Zag- Standard on most machines, I like this stitch for finishing seams and it’s a great stitch for mending.
- Decorative Stitches–Some decorative stitches are nice for embellishment. Used with decorative threads, these stitches are great to personalize projects.
- Alphabet- Granted you’ll have to be probably in the $300+ range to get this feature but kids and grown-ups alike love to personalize their projects. It’s just fun to do!
6. Also remember to purchase the sewing tools like scissors, pins, extra bobbins, extra sewin machine needles in several sizes, good quality thrad, hand sewing needles, marking pencil, seam ripper, and tape measure that will allow your child to begin to sew.
7. When lessons fit into your busy schedule, continue to sign your child up for sewing lessons. There’s so much to learn and my young sewer’s love these classes where creativity flows and personal flare are woven into every project.
8. If you can’t get to classes, there are lots of great books for kids to read and have fun making the projects. One of my favorites is “We Love to Sew” by Annabel Wrigley. This book is one of C&T publishing books from their Fun Stitch Studio collection. All the books are fun and jam packed with projects to inspire your sewer and get them sewing up a storm. Learning to sew and loving it!
May 8, 2014, 2:01 pm
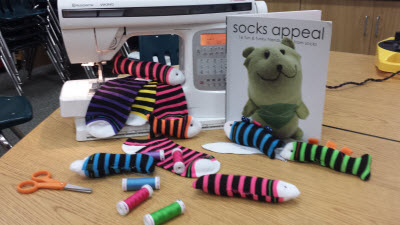
I love using socks to make creatures and other fun creations. You can use old socks that lose a mate in the laundry or socks that have holes that can’t be fixed. Or even better and more enticing, go to any clothing store and be amazed at the array of brightly colored socks in a variety of styles to plan your next sock project One thing for sure is once you get started making sock creatures, you’ll be addicted and I bet you can’t make just one!
Mt first encounter with sock creations was several years ago when my friend purchased several sock creations at a local craft fair near Kutztown, PA. We were absolutely crazy about these creatures and instantly wanted to learn how to make them. I started to research books about making sock creations and came upon the books by Brenna Maloney. Her books were full of wonderful information to make your very own sock creations from start to finish. Brenda categorized them by skill level with plenty of pictures to make her steps easy to follow. Maggie and I were quick to purchase her books and several others to begin our journey into the land of anything goes with socks!
Needless to say, when summertime rolled around and I was looking for wonderful camp projects for my kids, Brenna Maloney’s book “Sock Appeal” came to mind. My campers tend to be 6 years old – 9 years old with little or no sewing experience unless they have been in my classes during the school year. The projects needed to be simple but fun and easy to embellish. I chose the sock snakes and the sock fish and would let them choose which one they would stitch.
The girls loved the fish in all of my classes. So we did a little preparation before we stitched the fish. We talked about knit fabric, how to stitch curves and corners, and how to clip our curves so the fish would be smooth when turned. Depending on the socks I used (the more cotton in the sock the less it curled) we also went over how to deal with the knit fabric curling once it was cut while we were stitching. We were ready to stitch our very own school of fish!
The kids had a blast sewing the fish. Some hand stitched embellishments but others opted for a plain and simple fish. Sock creatures would be a mainstay of my curriculum for future classes!
January 9, 2014, 1:42 pm
Join Bobbi as she explores all types of sewing and needle arts. Get ideas for projects and learn lots of tips and tricks to make all your sewing projects easier and more enjoyable. Learning to sew and loving it!
|
|
|
|
 Laces & Trims
 Patterns
 Books & Magazines
 Dolls
Dolls Galleria