It’s just about time to start sewing classes with Ms Bobbi and I am just sew excited!
This year I have 3 different classes for you:
“Sewing on the Go” is my class for my students in grades 2 through 6. I’ll have some beginners mixed in with my returning sewers. I have lots of great hand and machine projects for the coming year so be prepared to have lots of sewing fun!
My “Junior Sewing on the Go” is my class for my Kindergarten and First Graders. We’ll have sewing fun mixing a lot of different types of hand sewing projects with a bit of machine sewing here and there to get you interested in the sewing machine.
And finally, my “Sewing Sampler Class” for my 4 and 5 year olds. These students are soooo excited to learn how to sew by hand and they are so proud of everything that they sew. And you never know when a sewing machine lesson might happen in a class or two…We’ll see how goes!
If you can’t come to my classes in the extended day programs of Tower Hill or Tatnall, just give me a call and we’ll sign you up for private or semi-private lessons in my home or yours! Everyone can join in the fun of sewing!
I love books! All kinds of books but especially books about (you guessed it) sewing and the needle arts. I have a huge library in my office with books I have purchased from the time I was a teenager in high school. I love looking through the books in my library to get inspiration for upcoming classes or to answer a sewing question. They fill me with creativity and inspiration and they make me smile. I would not part with any of them but I am constantly looking for new books to fill my already stuffed shelves.
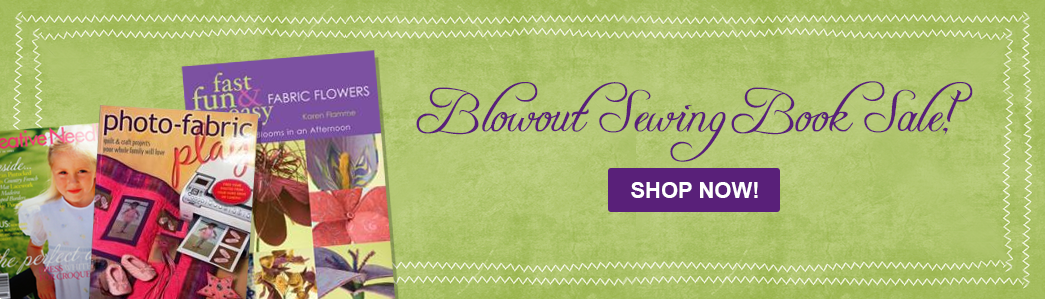
It is because of my love for books and my constant need to learn new sewing disciplines that I carry lots of books on my website. I really am a softie when purchasing books for Fascination in Fabrics and over the years I have gone a little overboard in my purchasing. I want to make way for more books so I am having a Blowout Book Sale on my site effective immediately! Check out the books available for only $6.95. These books are mostly from C&T and were originally $9.95 to $32.95. The sale is limited to stock on hand and can be purchased on a first come, first serve basis. Great values on a great selection of mostly quilting and craft books. Check my website now!
Sewing books can be full of pictures and information that can really teach you a skill if you can’t take a class. They can familiarize a sewer with terminology and techniques in a variety of disciplines and they provide a ready source of information at your fingertips. And even with the web at our 24/7 disposal there is nothing like perusing a good book while sitting on the couch and sipping a drink of choice!
The web may help you find a sewing book that you are looking for or a sewing website like mine that will give you personalized service to help you find a book if they don’t carry it. Book stores like Barnes and Noble are always adding new books to their collections. Libraries are a good source of finding sewing books and you’d be surprised how often they add to their collections. Whatever you do, always remember that there are all kinds of resources out there for you to take advantage of when you want to learn something new. Books are a great addition to any sewers stash!
My sewing students love to talk and laugh while we’re sewing during classes. One topic that they are always talking about are birthday parties! Now when I was their age, a birthday party was 8 -10 little girls (and sometimes boys) getting together and playing pin the tail on the donkey and eating ice cream and cake. And while those kind of parties still exist, they don’t seem to be the norm any more.
Now the girls have themed parties and go to hair salons to have their hair done or to a Sky Zone to jump on trampolines! The possibilities are endless and really the sky is the limit. And, because of this trend in birthday parties, I have been asked more and more if I would like to be the entertainment for a “sewing birthday party”.
For my sewing parties I come with all the equipment, sewing machines (if we are not hand sewing), and sewing kits that we need for each individual party. I start with a short sewing lesson and then we sew a project that I have all ready for them to sew. Everybody takes home a finished project. After my lesson they go into eat and open up presents. I clean up and say my goodbyes. My gift to the birthday girl or boy is a gift certificate for a private lesson in my home studio.
So, the next time you’re planning a birthday party for your child, think about having a sewing birthday. Your child will love it and so will you!
My goodness 2015 went fast! It’s January and time to think about Spring Sewing sessions and Summer Sewing Camps. The Camp Fairs are right around the corner…..
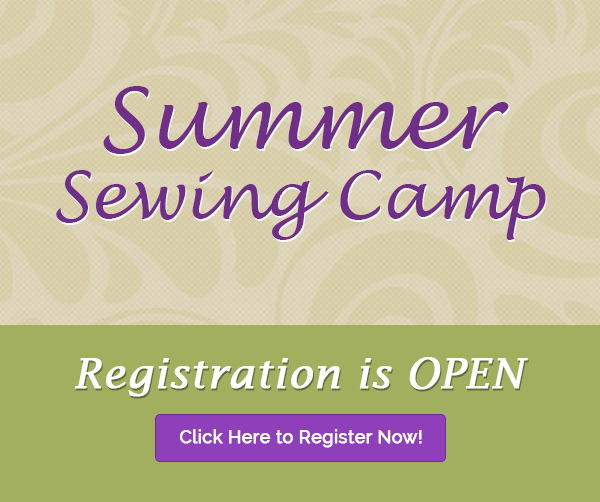
This year I am excited to again be at Tower Hill School for most of the summer. I will be offering 4 camps and your sewer can join me for either a half day or a full day. Many of my working parents let me know that they needed a full day of camp so now your wish is my command!
I will also be running 2 sewing camps in August at Tatnall and they will also have the option to join me for a half day or a full day. And, finally I am running 2 camps at Cab Calloway Summer School of the Performing Arts for campers that are in Kindergarten through Second Grade. It’s gonna be a busy summer but sew exciting!!!!
Here’s the link to click to my summer camps. Register early for best selection!
Summer is often the best way for your kids to experience the joys of sewing. Classes are small and the atmosphere is more laid back than during the busy school year. Kids can choose a variety of sewing disciplines based on their interests. During the week they will be gain confidence in their ability to finish each project and use their creativity to personalize their projects based on their individual personalities. Wherever you may live be sure to investigate your local sewing shops or schools for sewing camps in your area.
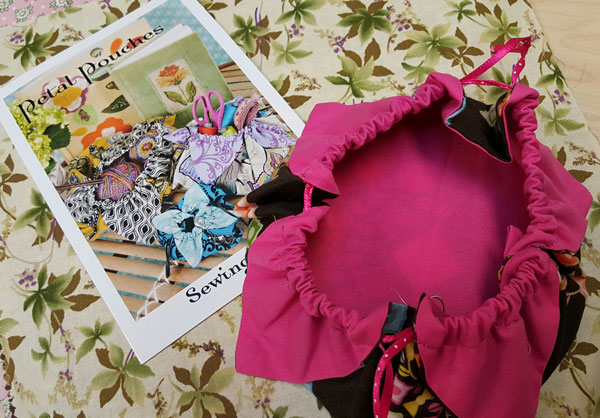
I love the Pattern “Flower Pouches” by Valori Wells. My students loved them too! How can stitching a simple square and turning each corner back and gathering it look so cool and really look like the petals of a flower? It’s amazing and another great container for putting in a special gift for someone you love (actually makes it more special because you’ve made the pouch)!
Start with the sewing card “Petal Pouches” by Valori Wells. Choose the size of your square from the pattern (there are 3 sizes using a 10” for a small bag, 15” for the medium bag, and 18” for the big bag). You might also like to experiment with the size to fit your gift. You’ll need 2 fabrics and ribbon for your gathers that fit through your casings. Note: I preferred to cut a larger piece of ribbon for the bags to have longer pieces to tie)
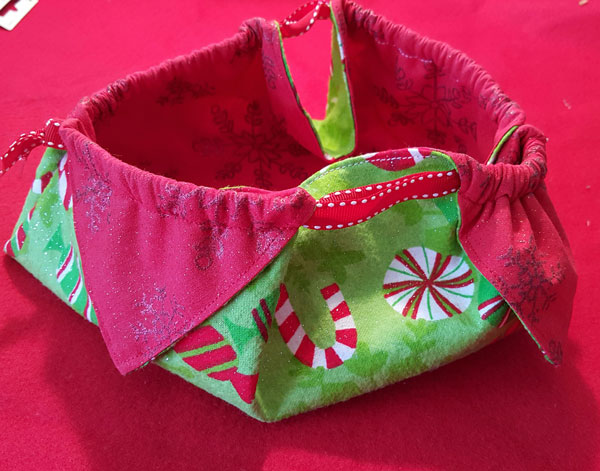
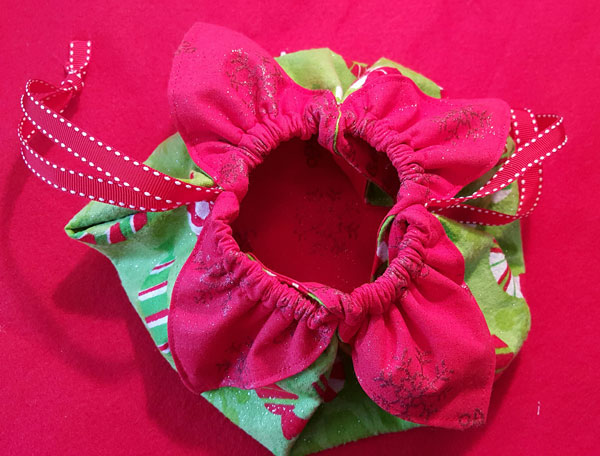
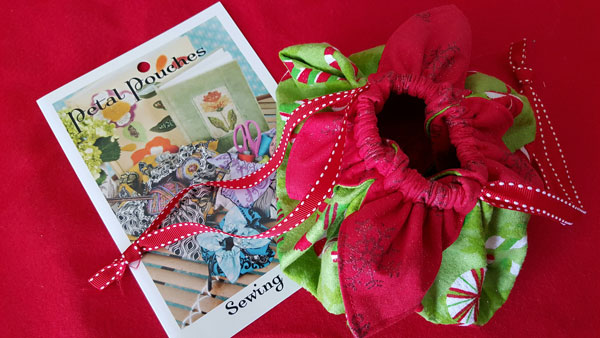
The directions are easy to follow and the finished project so adorable. Make in a variety of prints and solids including some Christmas prints for the holidays! You can find the Sewing Card “Petal Pouches” by Valori Wells on my website in the Marketplace under Cool Stuff for Kids!
Happy Stitching…
Bobbi
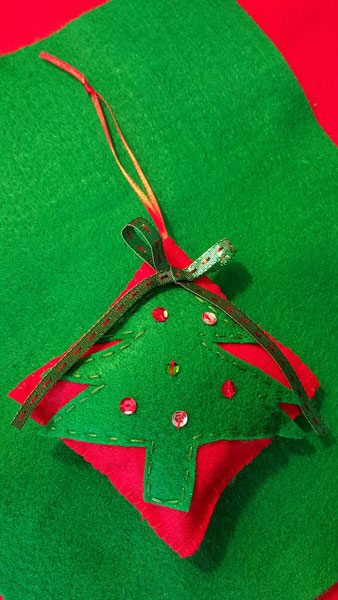
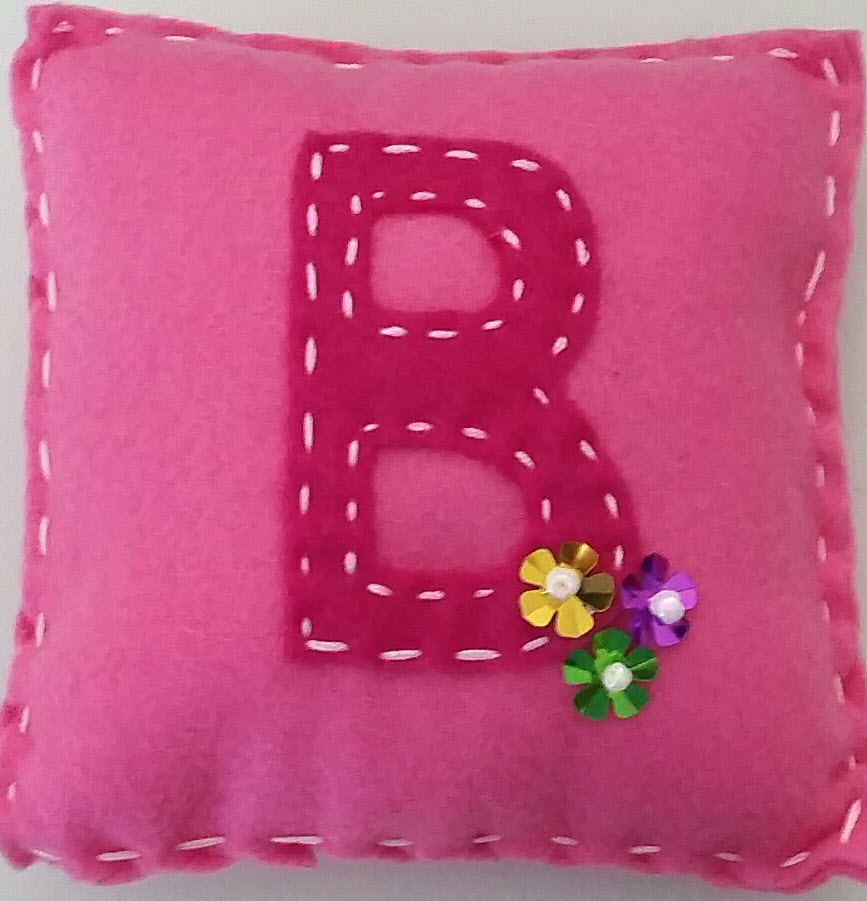
Kids just love making pillows! For some of my students I think the best part of making the pillow is stuffing it! So I thought let’s make some Christmas pillows and ornaments and have fun stitching and stuffing them!
Because I again wanted super easy projects I cut squares from felt and fleece. These fabrics don’t ravel and seams don’t have to be inside! Cut squares to the desired size. Add any appliques with simple hand stitches. Add embellishments like sequins, buttons, and ribbons. Pin the front of the pillow to the back and be sure to leave a hole in the middle of one of the sides to stuff.
You could use the machine to sew the sides if you would prefer, but I love these pillow projects from felt to practice hand sewing. Stuff the pillow lightly and stitch up the opening you left for stuffing. Your pillow is done!
If you are making an ornament, just slip in a piece of folded ribbon at the top of the ornament and stitch all 3 layers at once (top felt, ribbon in between, and bottom felt).
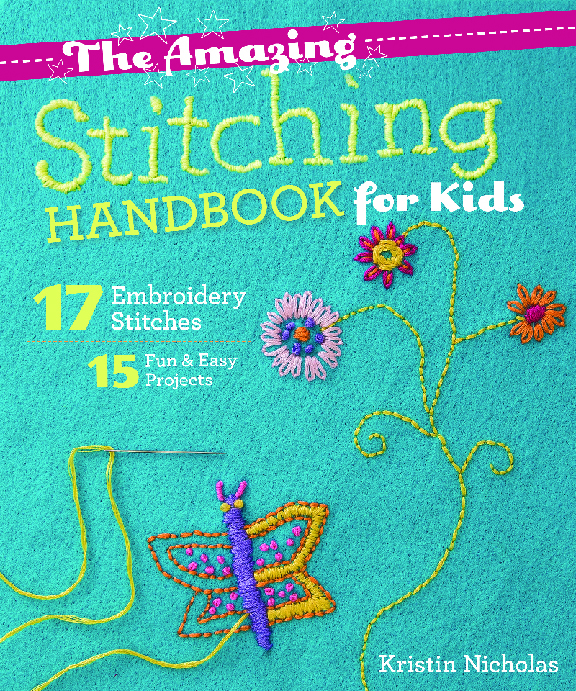
For more ideas and creative stitches for your projects check out “The Amazing Stitching Handbook for Kids” by Kristin Nicholas available on my website under Fun Stitch Studio Books by C&T Publishing.
Until next time…
Bobbi
Now that Thanksgiving has come and gone, it’s time for my young students to spend the next few weeks leading up to Christmas and Hanukkah making gifts for family and friends. I decided to share a few of these on my blog.
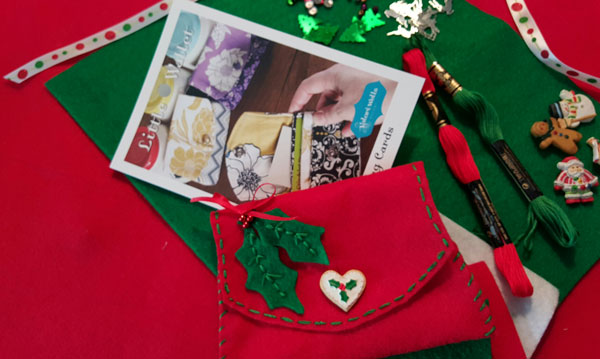
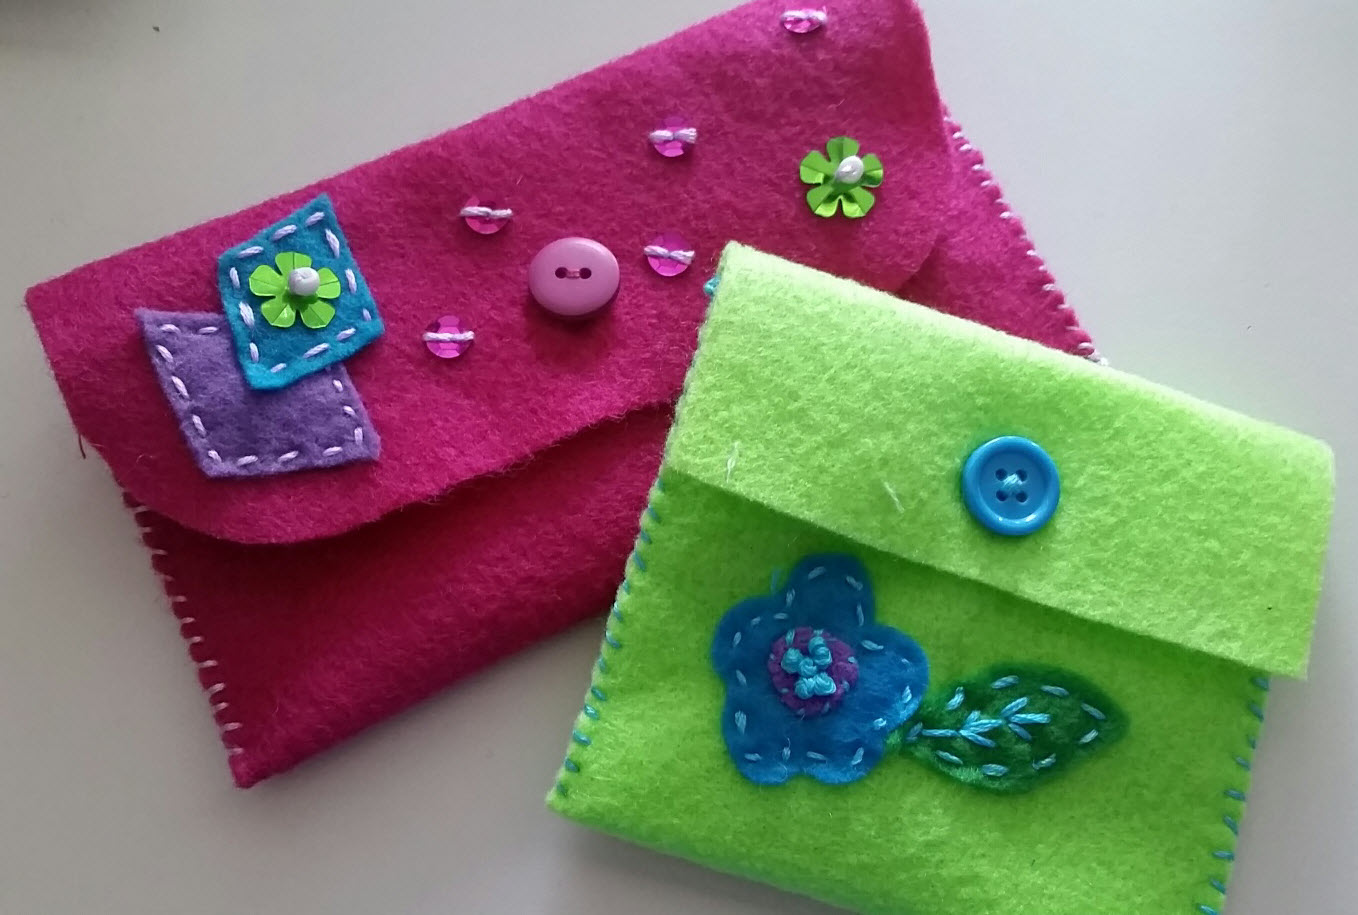
The Fleece Pouch is a project that I use in all my beginning classes. It is simple enough for my kindergarten crowd and all the kids get to practice a straight stitch, running stitch, and sewing on a button. As an extra I add on an applique’ when time permits. The kids love this little cutie!
The pouch was inspired by the Sewing Card from Valori Wells called “Little Wallets”. The pattern was a little too hard for my younger kids so I traced the shape of the pouch and then folded the bottom of the pouch back up on itself about 3 and ¾” and continued to trace the pouch. I now had a simple pattern to cut out for the kids.
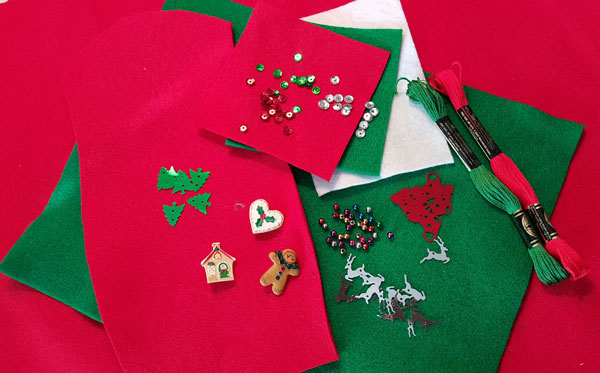
While most of the pouches have been from fleece I thought that for Christmas these would be perfect fashioned from Christmas colored felt. I also gathered some embellishments for my pouch like sequins, Christmas buttons, floss, and ribbon.
The first step was cutting out my pouch. Next I decided on an applique for my flap. I pinned the holly in place, stitched around the leaves, and then added beads for holly berries and a ribbon. (You could add any embellishments of your choice). Next I added my button about 2” down from the top and centered in the middle of the pouch.
After sewing on the button I folded up bottom of the pouch about 3 and ¾” and pinned it in place. Using an overcast stitch I sewed each side of the pouch. I added a running stitch to the edges of the flap and finally slit the fabric where the button will go through to close the pouch. Now I could add a gift card or gift, button the flap, and one gift is finished and ready for giving!
Look for the sewing card “Little Wallets” by Valori Wells in my marketplace in the Sew Kool for Kids Shop!
Happy Holidays…
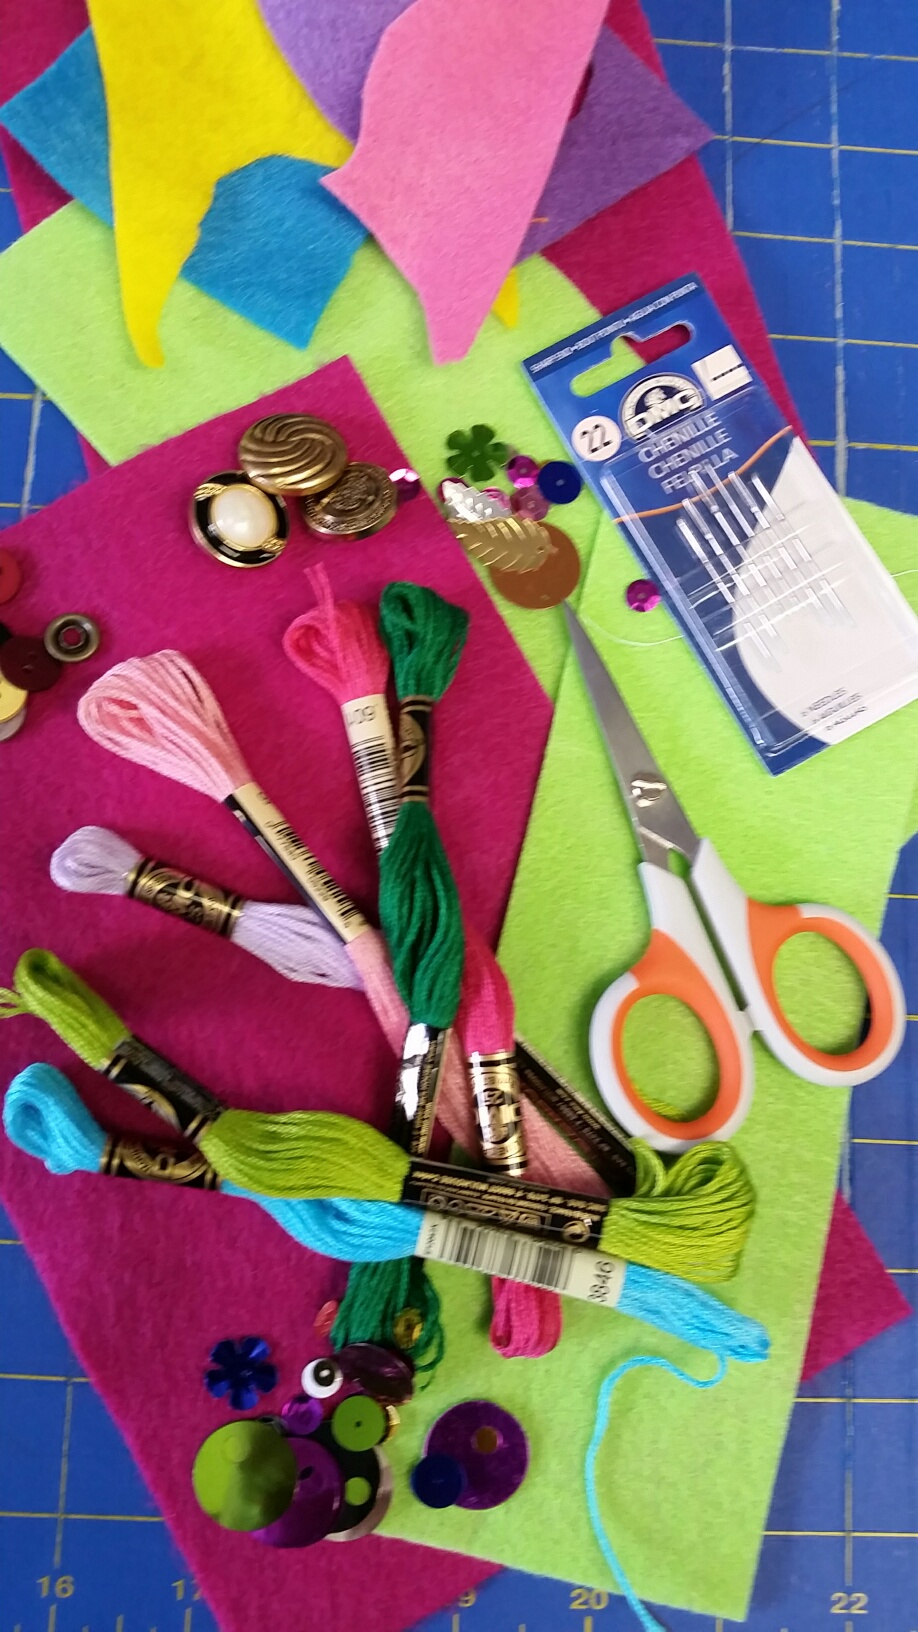
I love to teach kids how to sew using very simple projects. Felt is a great fabric for this purpose. Brightly colored, it doesn’t fray and has enough body so the kids can hold the fabric easily while learning to stitch. Felt can be purchased by the yard but can also be purchased in the craft section of Joann’s or Michael in 9 and 12 inch squares.
Besides a pair of scissors and a few pins you will need squares and rectangles and a few assorted pieces or remnants of felt in different colors. Add some favorite colors of floss, a size 18 or 22 chenille needle, buttons in assorted sizes and colors, and some sequins and you’re set!
In my last post, I talked about the running stitch, the overcast stitch , and sewing on different kinds of buttons. Using these stitches, cut the felt into squares and rectangles and start having some sewing fun!
Cutting 1 piece of felt and cut into 2-6″x 6″ squares. Cut some shapes from the felt remnants and pin on one of the squares towards the middle. Your applique’ is ready to be stitched with a running stitch or an overcast stitch. Add a button or two and maybe even try to stitch some sequins on to finish your design. Put the two pillow squares together with the design facing out and pin leaving a small space in the middle of one of the sides of the pillow. Using a running stitch, stitch around the outside of the pillow about 1/4 from the edge of the pillow until you come back to about 3″ from where you started to stitch. Stuff the pillow lightly with fiberfill and finish stitching the pillow closed. So cute!
Now cut several rectangles. Fold the rectangle into 2 even sections and top section about half way down. The top section can stay square or can be rounded or pointed for the flap. Decorate the flap or the back and/or the front of the pouch. Now add a snap or a button for a closure. Super simple and the kids love them!
Remember, sewing is fun and it is a learned skill! Let your kids experiment with colors and stitches. There is no right or wrong. Beauty is in the eyes of the beholder!
If you need help with the how-to’s of embroidery, click on the link to “The Amazing Stitching Handbook for Kids” by Kristin Nicholas featuring 17 embroidery stitches and 15 fun and easy projects. This book is published by C& T Publishing and is part of the Fun Stitch Studio Series. Beautiful illustrations in an easy to read format. Great projects and lots of information including a list of sources for supplies, glossary of terms, and a guide on how to make the embroidery fit your own personality. This book is a wonderful addition to your sewing library and one I’ll be using this year as a text in class. Be sure to check it out!
Shop “The Amazing Stitching Handbook for Kids” Now!
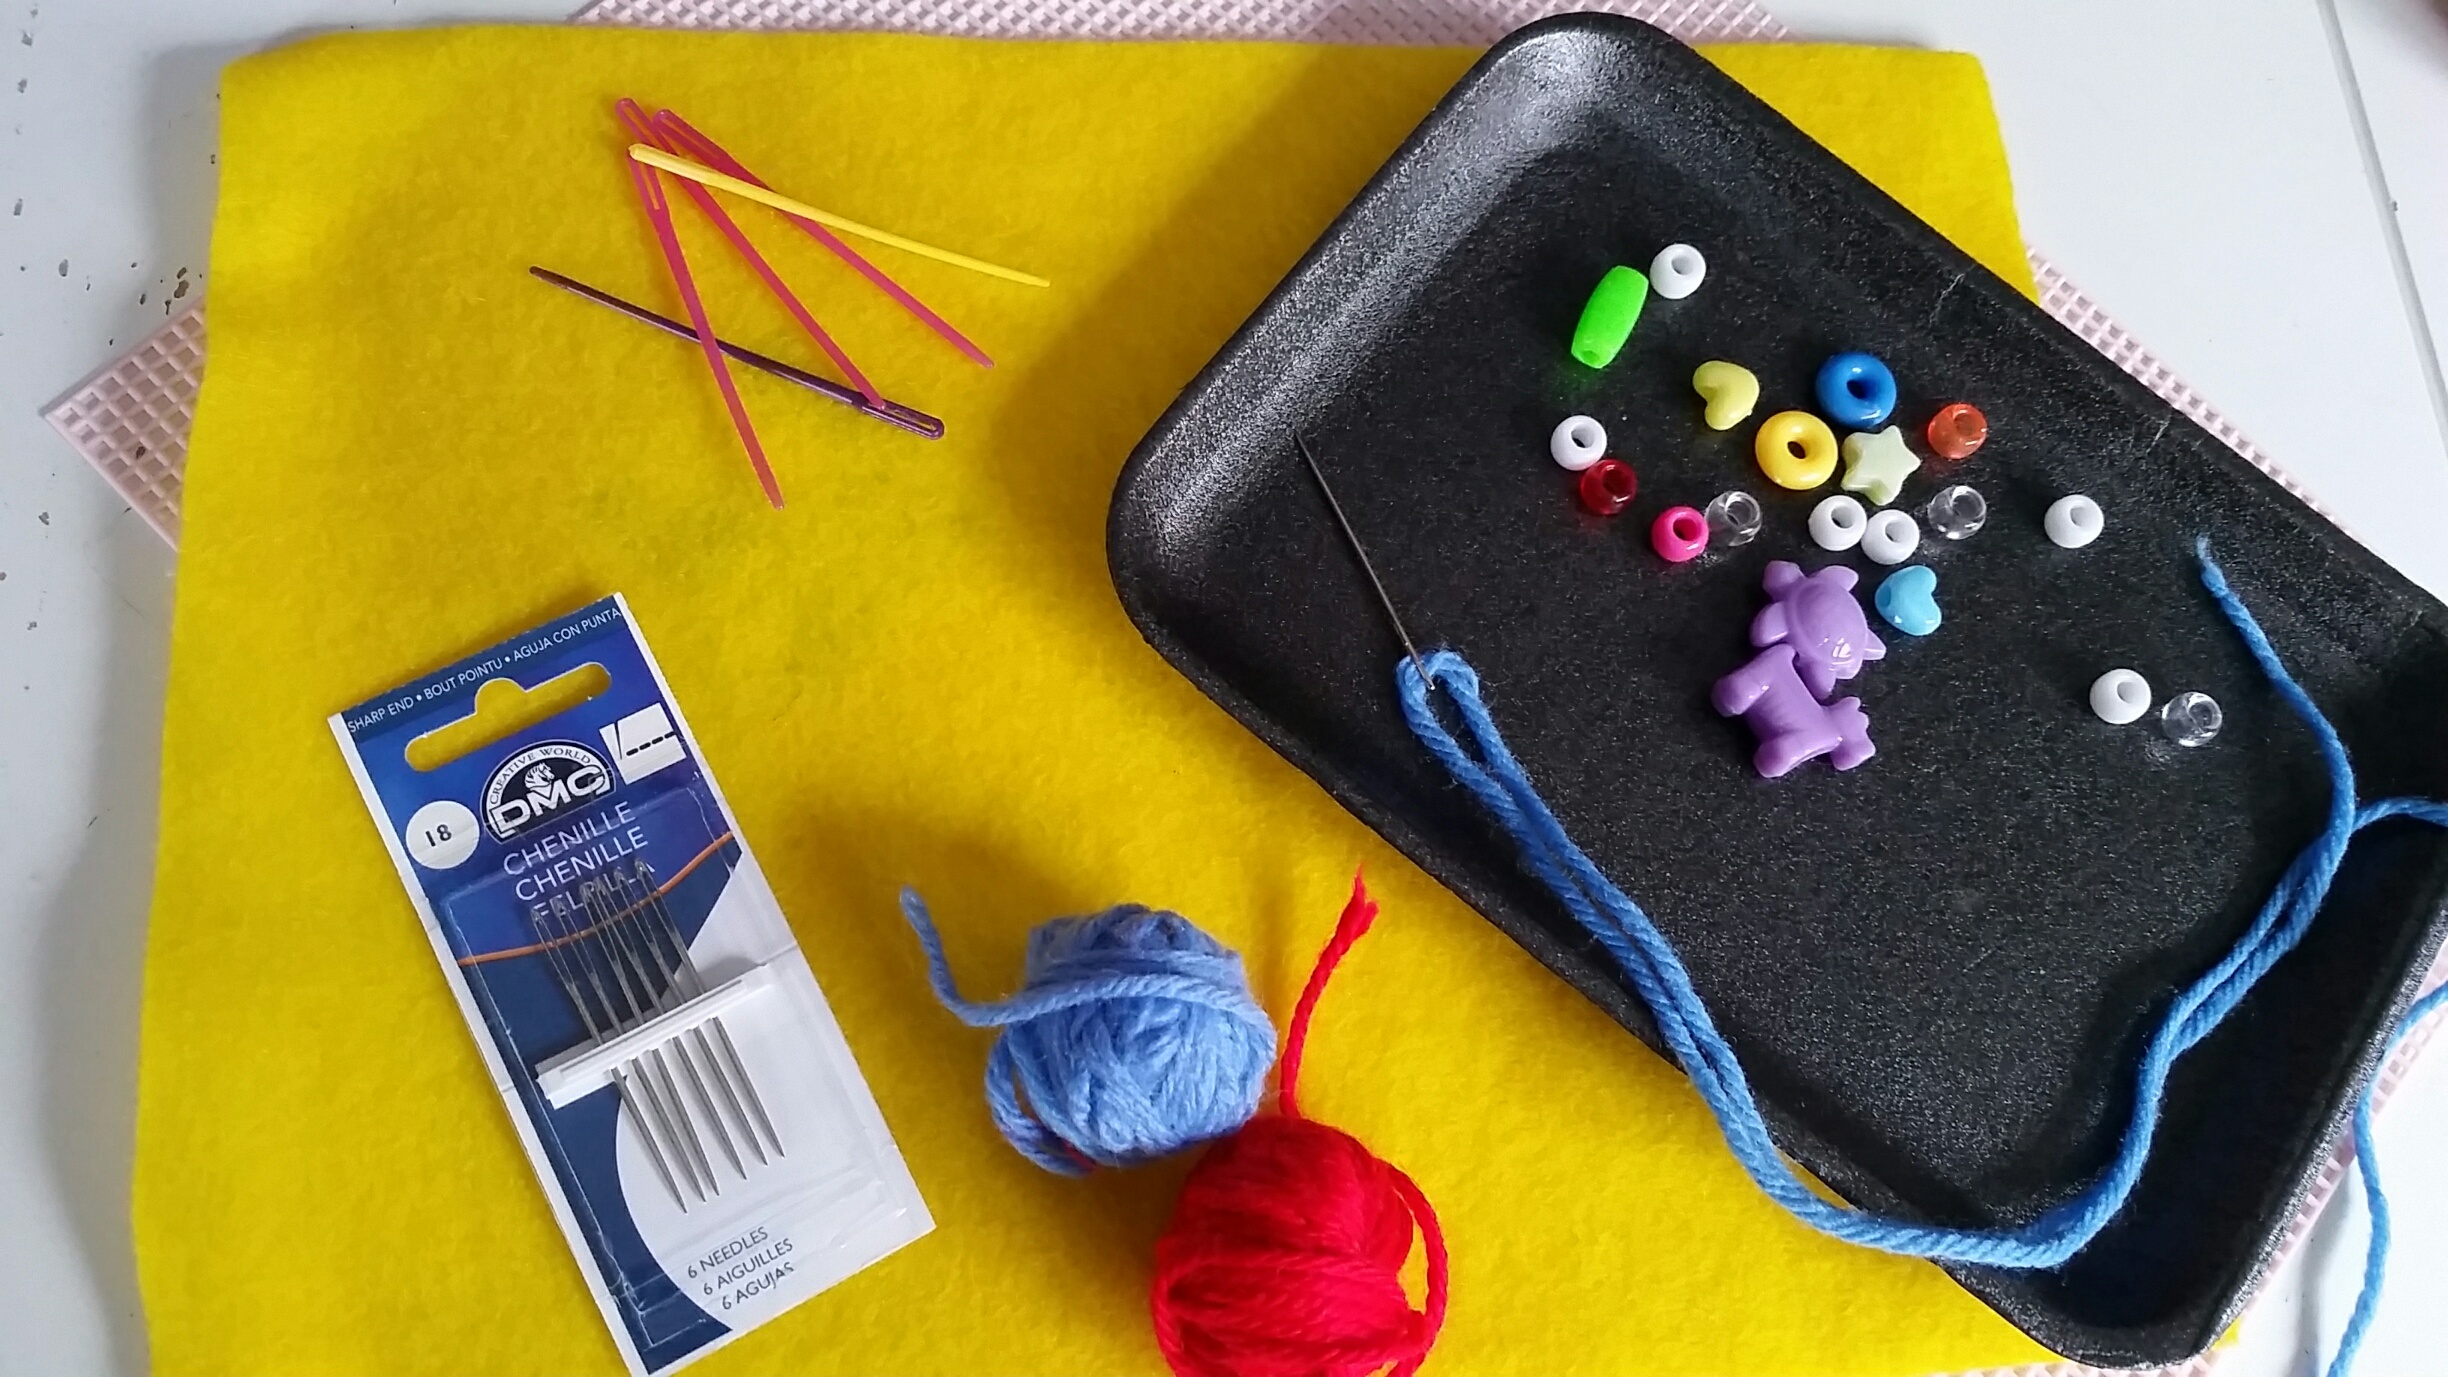
Teaching your young child to hand sew can really be a fun and rewarding experience. Gather some simple supplies and you are ready to get started! Most of the supplies that you’ll need can be purchased at a Michael’s Craft Stores or Joann Fabric Stores.
You will need:
Needle with a large eye (I use a Chenille Size 18 which can be gripped by little fingers)
Yarn or floss (use all 6 strands together)
Felt
Plastic canvas
Heavier paper such as poster board
Paper plates with holes punched around the edges, or a styrofoam plate used for food (I get Persian Cucumbers from Trader Joe’s)
Scotch tape to secure the yarn if you are using paper plates or styrofoam
Scissors
Paper Punch if using a paper plate or paper
Optional: Pony beads or other large beads for the needle
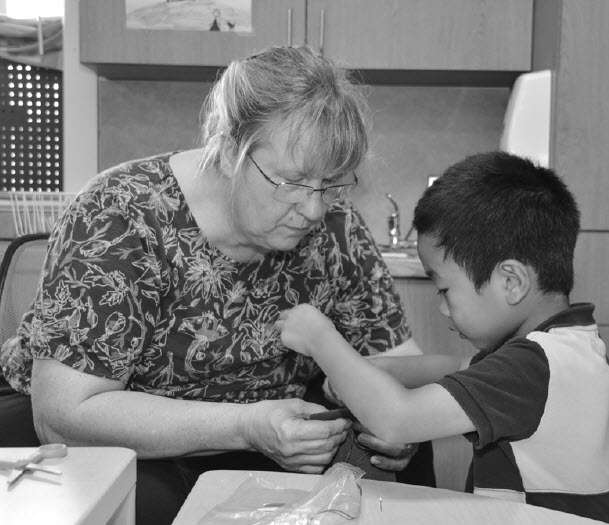
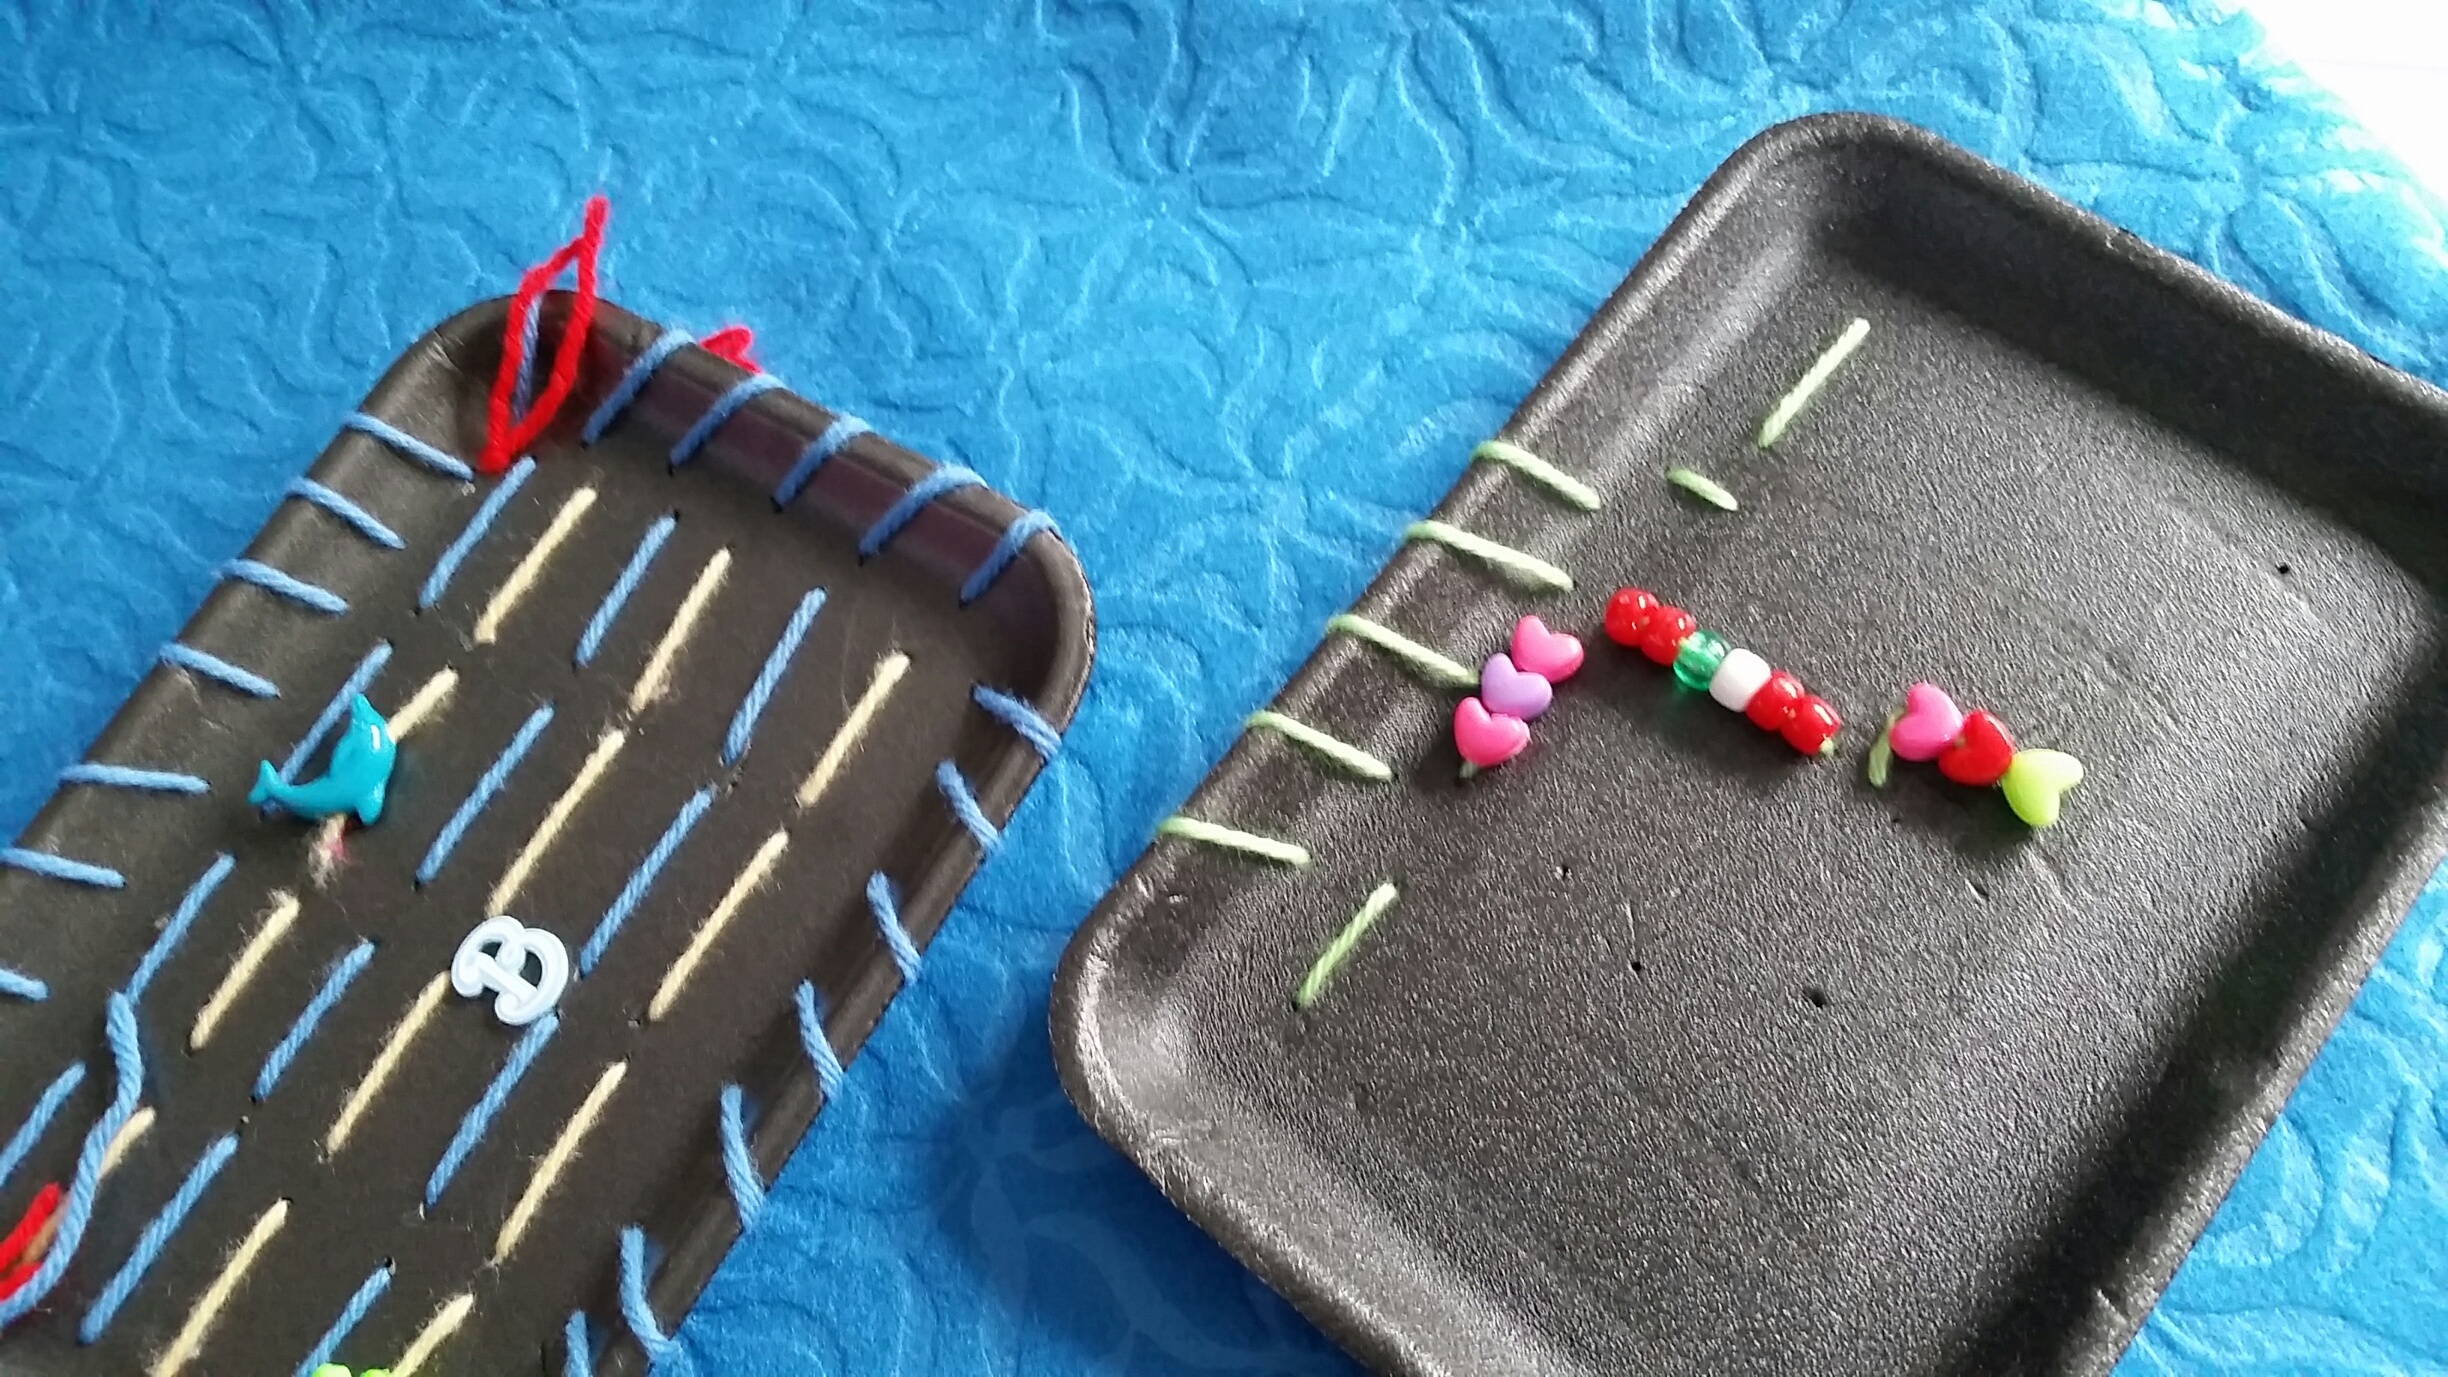
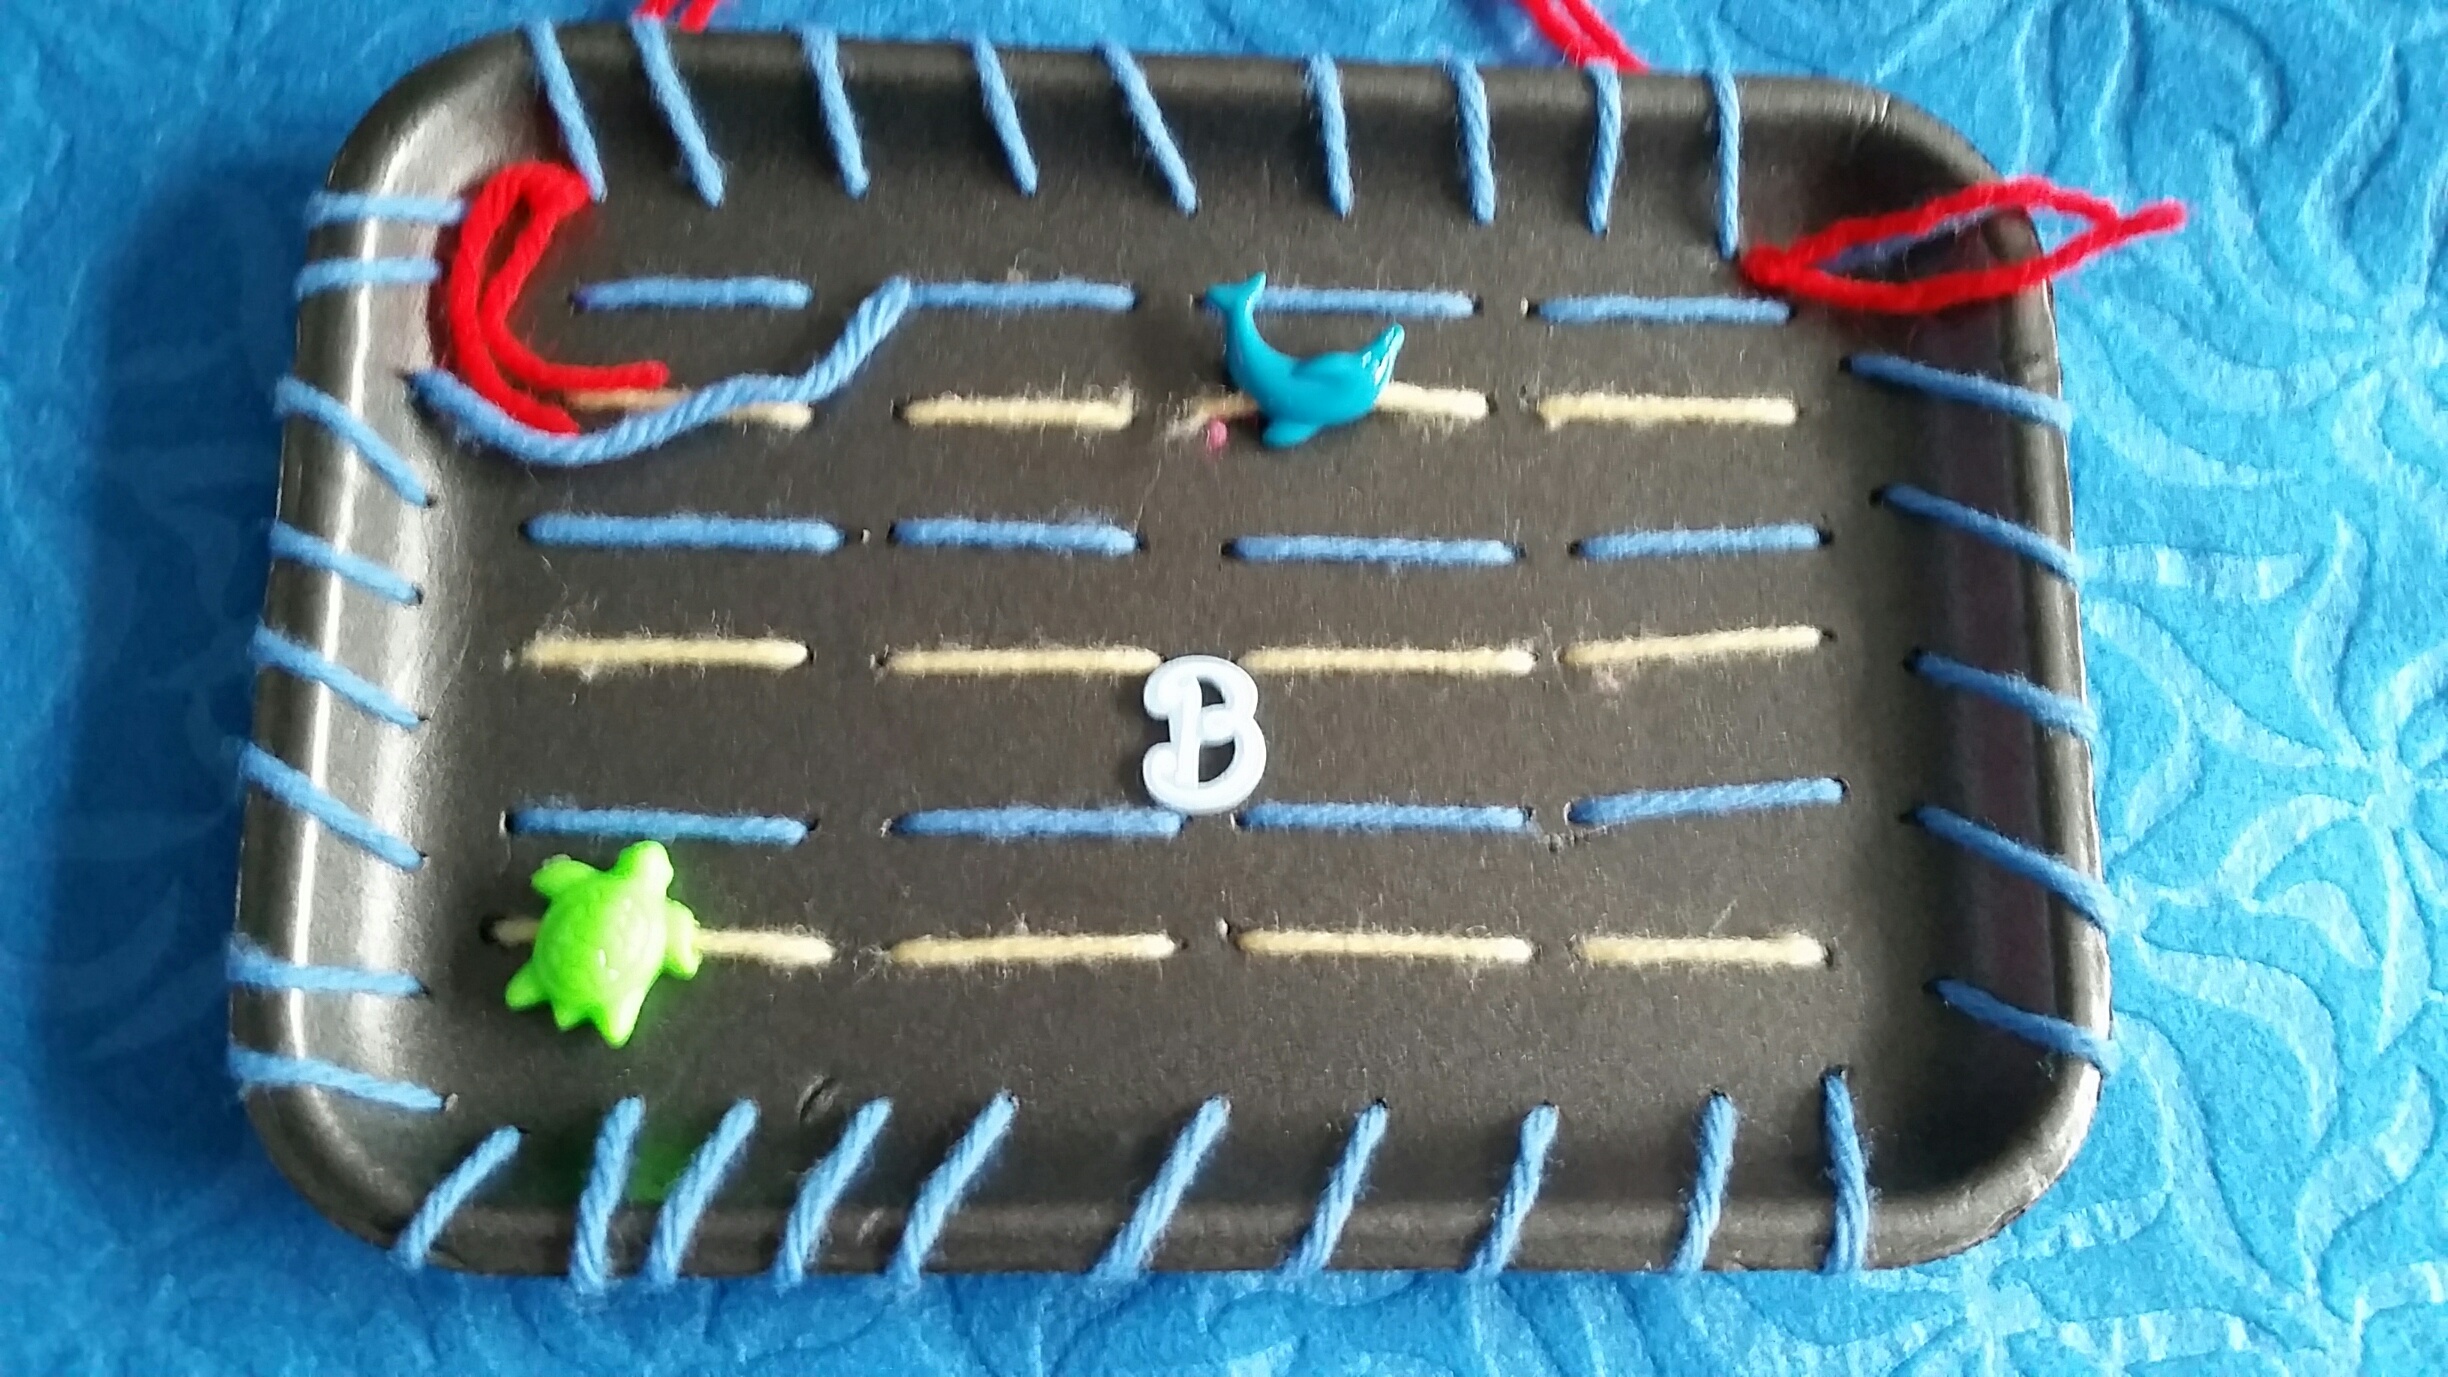
Begin the sewing lesson by showing your young sewer the needle that you will use for stitching. Be sure to show them the point of the needle and tell them that it is sharp so it can pierce the fabric. If they want, let them feel the point although most are curious and will do this on their own! Show them the eye of the needle and tell them that this is where the thread is added so we can stitch. Thread the needle while they are watching and show them how the thread is knotted. If your child is interested in trying to thread the needle and make the knot let them try. Otherwise, show them how it’s done and wait until your child has stitched for awhile. If you are using poster board or a paper plate, take your hole punch and make holes around the outside rim of the plate or shape. Before you begin to stitch show them how to hold the yarn or floss at the base of the eye while stitching so that the yarn does not pull out after each stitch.
Running stitch:
My students, young and old, begin their stitching journey with learning the running stitch. This basic stitch is made by bringing the needle up from the back or underside of the fabric, moving over about a quarter to half an inch and sending the needle back down to the underside of the fabric. The stitches can be all even or can vary in length depending on what your child is using to practice stitching (styrofoam, felt etc.)
Show your child how to hold the eye of the needle and the thread each time they begin to stitch. Keeping the yarn or the floss in the eye of the needle is by far the hardest part of the lesson. Have your child bring the needle from the underside or back of the fabric. Pull the yarn or floss all the way up to the front. Now, reinsert the needle back down into the fabric to the underside and pull all the thread through again. One stitch completed! Make rows of running stitches like railroad tracks back and forth until you have filled your empty space or stitched around the edges of your paper plate. At the end of each row either knot the yarn or cut and tape the yarn to the backside of your work. Change colors for each line of stitching or try making big or little stitches. Let your child be creative! Optional: When your sewer brings the needle to the right side of the felt, plate, or needlepoint canvas, have them add a pony bead or beads before they insert the needle back down into the fabric to the underside. Have fun and let them be free to be creative!
Overcast or Whip Stitch:
Once your sewer has somewhat mastered the running stitch let them move on to the overcast or whip stitch. Have them bring the needle up through the underside about a quarter to a half inch in from the edge of the plate or fabric. Now, instead of going back down to the underside from the front, take the needle over the edge and go back to the underside and bring the needle back up through the fabric or other medium to the front about a quarter to a half inch from the first stitch. Remember your stitches will be going over the edge each time instead of being stitched in an up and down motion. Be patient as your sewer tries to master these two basic stitches. Often my students will start with a running stitch and end up stitching several overcast stitches. It’s at this point where I remind them that they are new to sewing and it will take time to master a new skill. I take the misguided stitches out and encourage them to continue reminding them that sewing is a “learned skill” and “practice makes perfect!”
 Laces & Trims
 Patterns
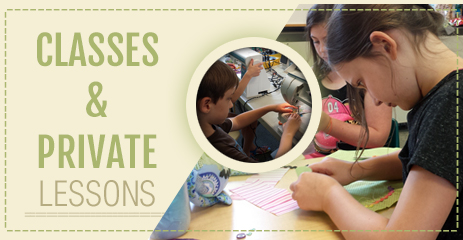
 Books & Magazines
 Dolls
Dolls Galleria